





You rely on your environmental test chamber to validate product durability under extreme temperatures and humidity. But when was the last time you verified its actual performance? A drift of only 2°C or 5% RH can turn a passing batch into a field failure nightmare — and that’s exactly why a structured calibration routine is non-negotiable. At Envsin, we’ve helped hundreds of labs across Europe and North America eliminate false readings and maintain IEC/ISO compliance. This environmental test chamber calibration guide walks you through the essentials: from choosing reference sensors to setting up an interval plan that fits your test load, all without fluff or overcomplicated theory.
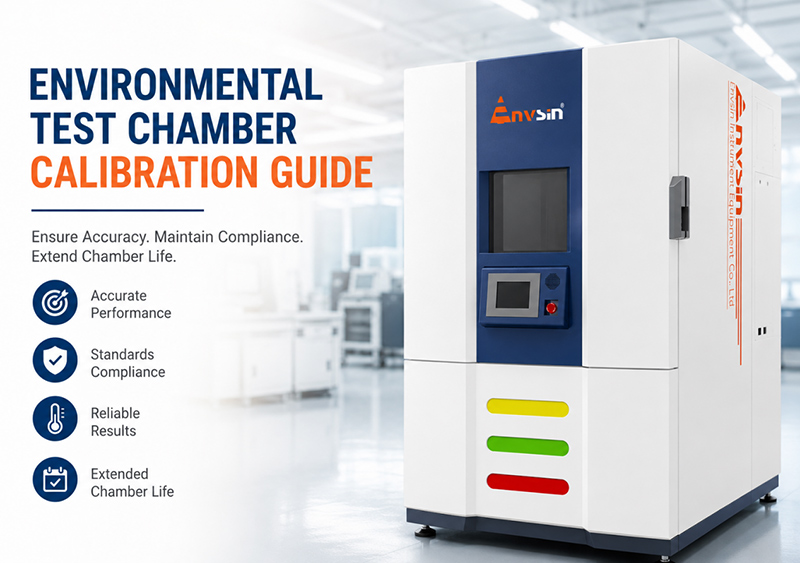
Modern environmental test chambers are precision instruments, yet thermal cycles and sensor aging inevitably cause deviation. Without proper calibration, your test data becomes guesswork. For most reliability labs, we recommend a three-point calibration (low, mid, high range) covering both temperature and humidity. Start by stabilizing the empty chamber at the desired setpoint, then insert NIST-traceable probes into at least nine locations (including corners and center). Let the system settle for 30–45 minutes, then log readings over one hour. Compare your chamber’s built-in sensor against your reference. If discrepancies exceed ±1.0°C or ±3% RH for general test specs, adjust the controller offsets. Envsin chambers come with intuitive calibration ports and guided software routines, reducing human error and saving technician time.
One frequent mistake among engineers is neglecting humidity calibration at low dew points. If your tests involve dry conditions (e.g., 10% RH), verify your chamber’s performance at that extreme, not just at ambient levels. For high-stress automotive or aerospace testing, annual accredited calibration is the gold standard — but don’t skip internal quarterly checks. Document everything: pre- and post-calibration data, uncertainty budgets, and adjustment logs. Following this discipline ensures your environmental test chamber meets standards like ASTM D4332, MIL-STD-810, and IATF 16949. Also, keep your chamber load representative: calibrate with a dummy product that mimics your typical sample’s thermal mass. This small step dramatically improves real-world accuracy.
What about choosing between on-site vs. off-site calibration? Accredited on-site service from a provider like Envsin minimizes downtime and ensures your chamber stays in its operational environment — no transport-related misalignments. For in-house verifications, invest in a calibrated handheld reference probe with current certification. Always verify your reference before every use. And don’t forget to recalibrate after major maintenance (e.g., replacing a heater, compressor, or controller board). A well-executed environmental test chamber calibration schedule reduces energy waste, prevents product overtesting, and strengthens your quality management system.
To build a robust calibration program, start by setting a clear policy: perform a 15-point temperature uniformity test every 6 months and a full humidity calibration annually. Keep your chamber’s air circulation clear, clean sensors gently, and never assume “new” chambers are perfectly calibrated from the factory — they still require baseline verification. Envsin offers digital calibration templates and remote guidance to help you adopt best practices without friction. When you document results correctly, you not only satisfy auditors but also gain confidence that every thermal shock, damp heat, or cyclic test matches real-world conditions. Remember, a calibrated chamber is a profitable chamber: less rework, fewer warranty claims, and faster product approvals.
Need a tailored calibration checklist or advice on reference standards? Reach out to the Envsin technical team — we’re dedicated to helping engineers run precise, repeatable environmental tests. Bookmark this guide, train your lab staff, and make calibration a proactive routine, not a reactive scramble.